Inspired by a recent session with one of my students, I wanted to write up a post on how I clean and assemble miniatures. This process is something I do for any piece I am painting for competition to ensure the cleanest possible finish. This process is heavily influenced by the process that Gupla builders use to prep models, particularly if they do not intend to paint the pieces.
Firstly – The Double Clip:
The first step is to clip away from the piece.
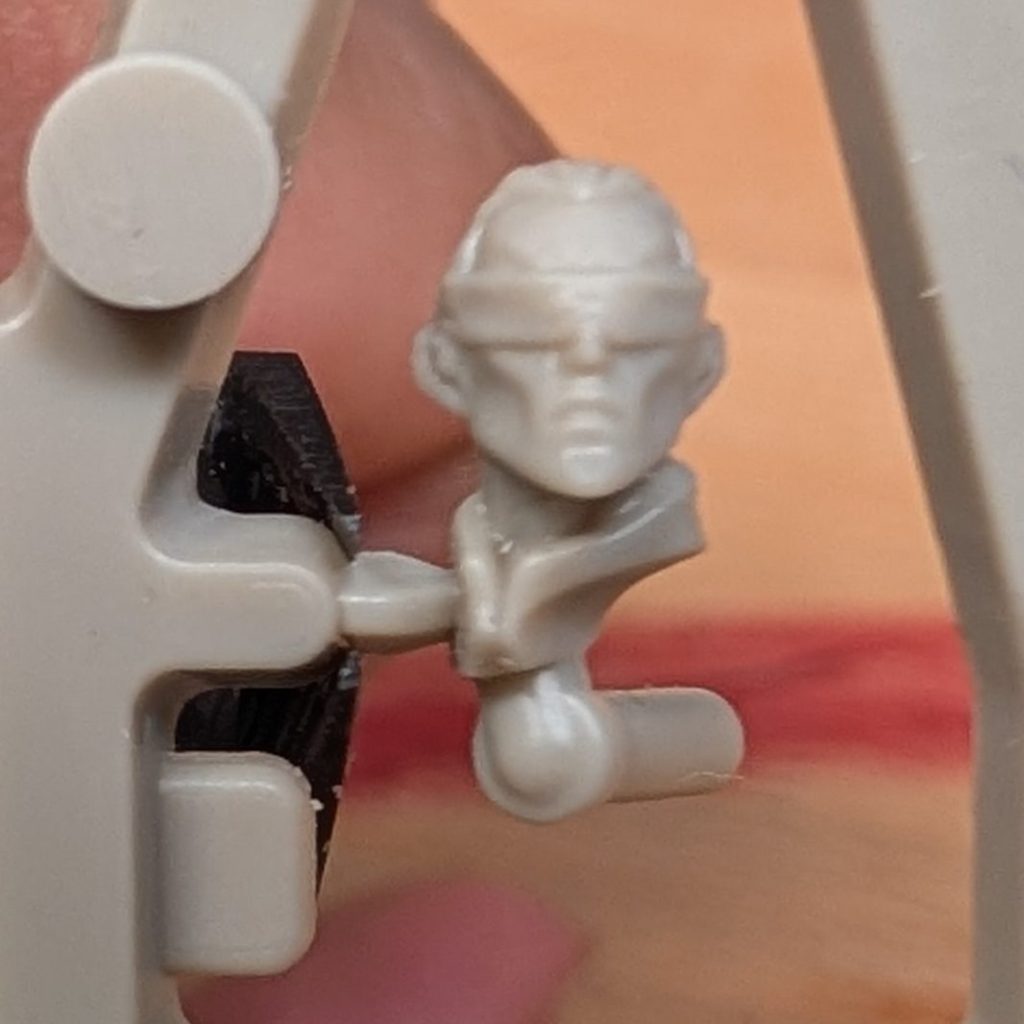
Before then clipping again closer (but NOT right up against the piece).
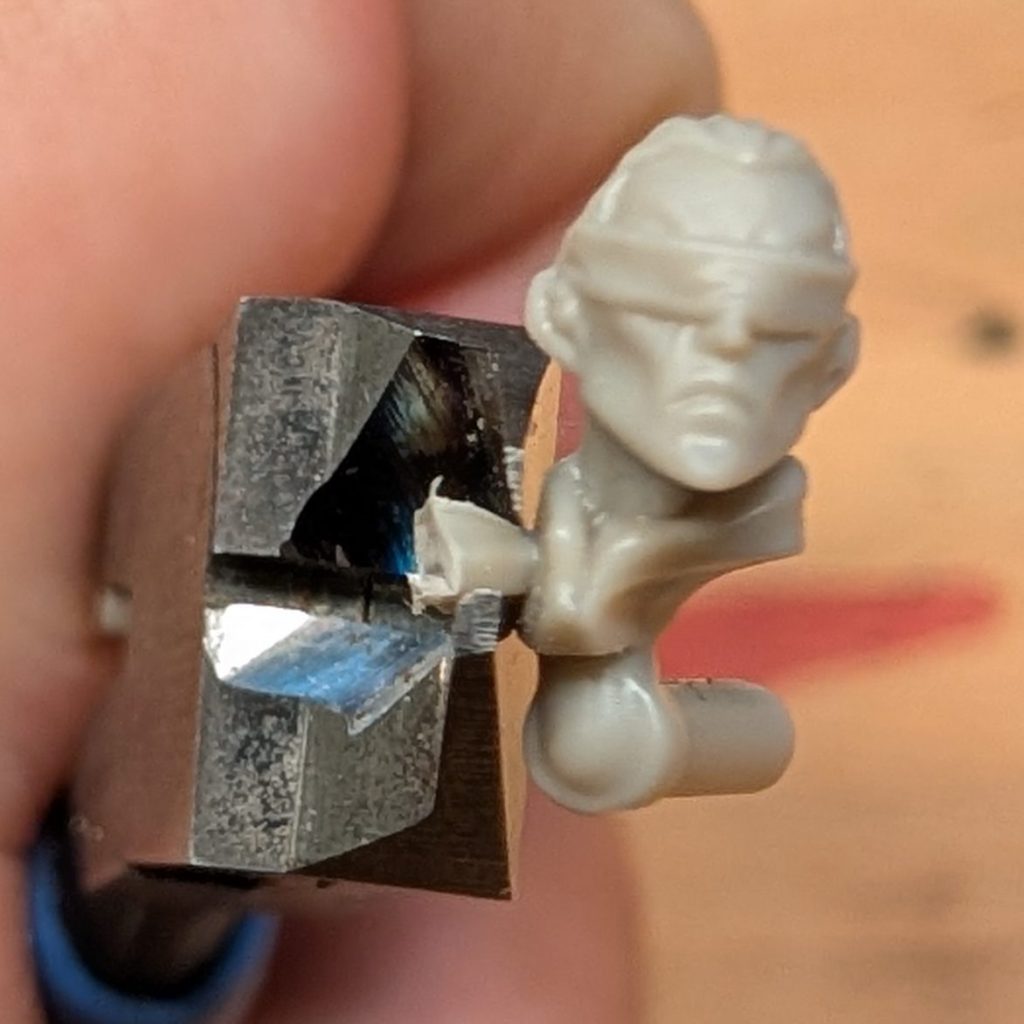
This leaves a very small sprue nub proud of the surface of the piece. This is intended to protect the piece from the plastic being warped or deformed from clipping too close to the piece.
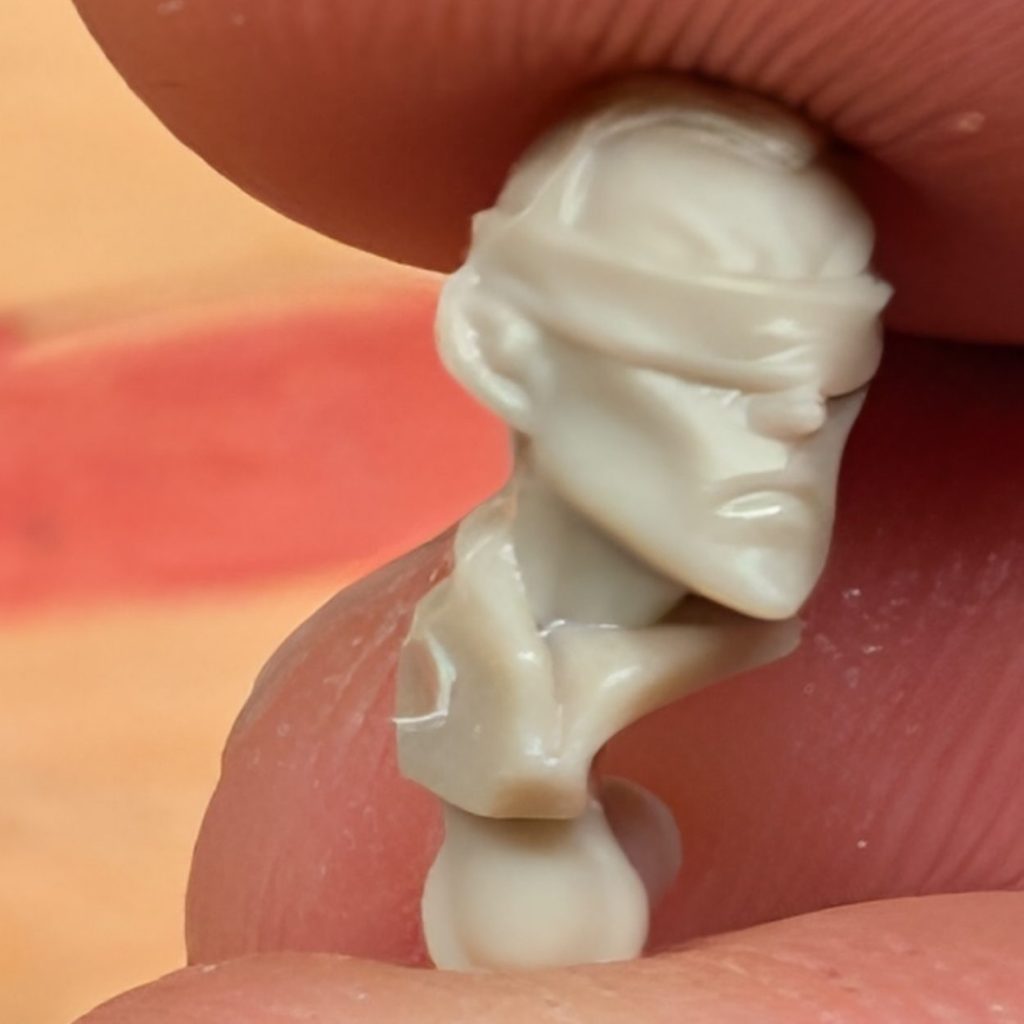
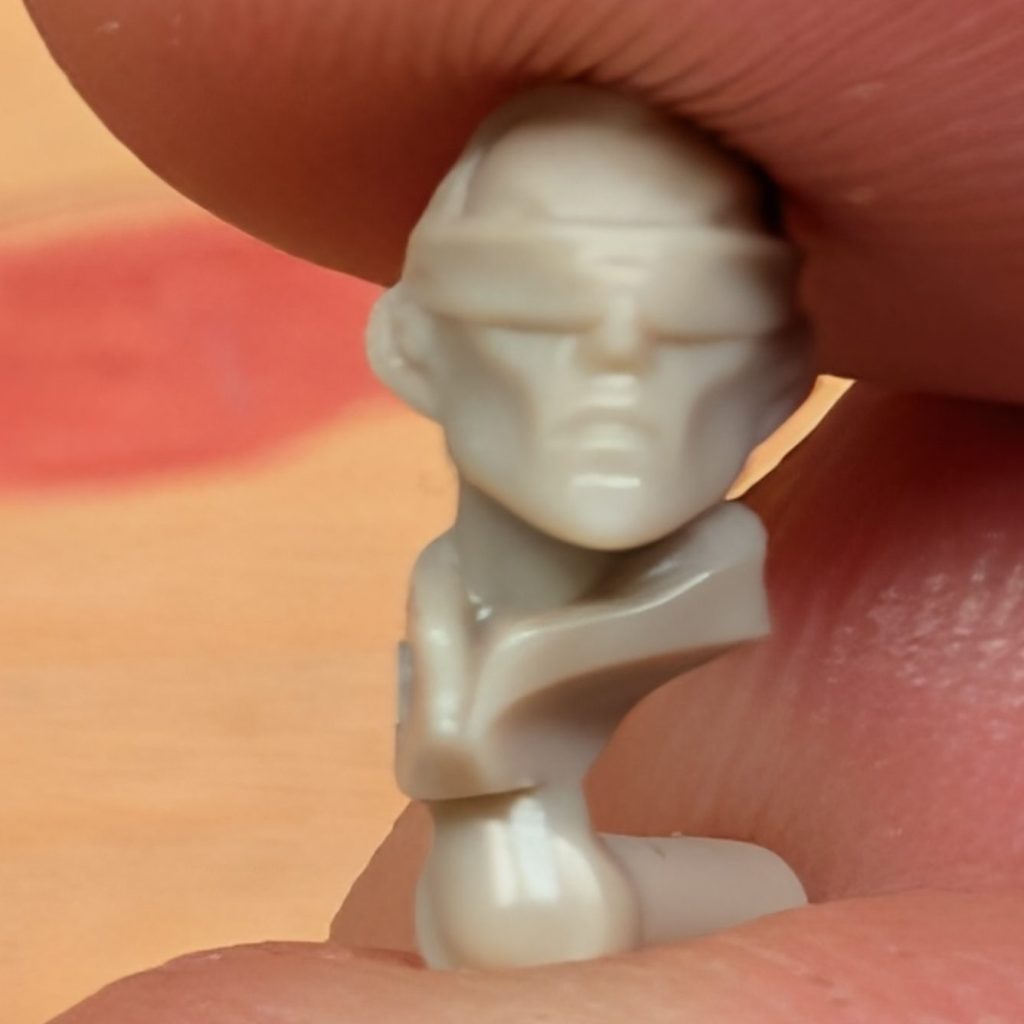
This leaves a small amount of sprue to remove. There are couple of options here but generally the best option is to sand down this nub until it is smooth with the surface of the piece. Alternatively, you can use a knife to shave off this excess which is sometimes easier in tight spaces.
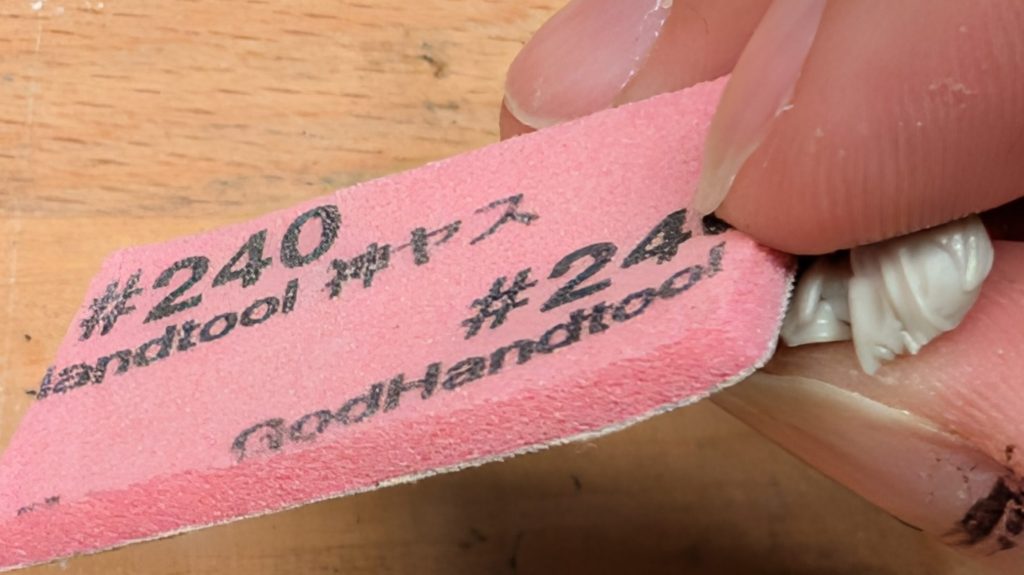
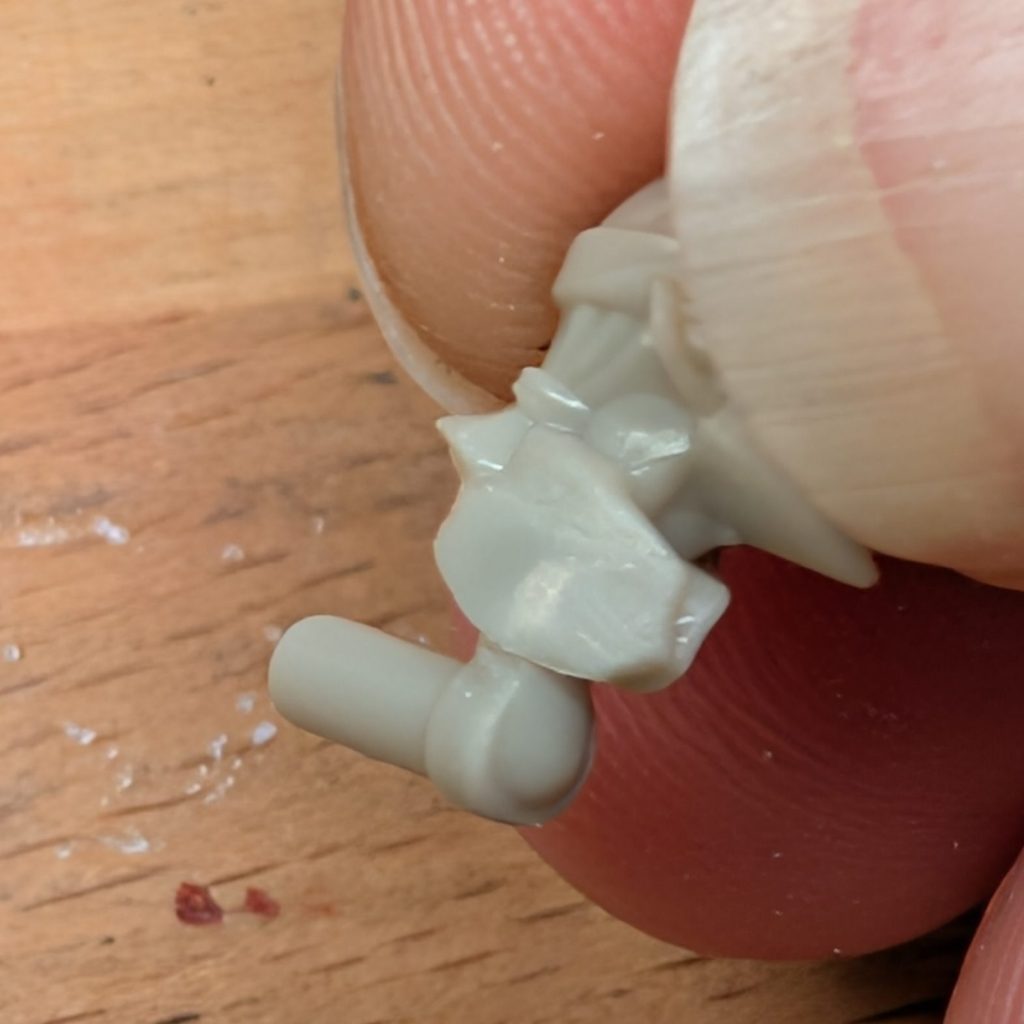
With care, this process can leave not even the hint of a mark on the surface of the model. (It may require a few grades of sand paper – I typically work from 120, 240, 400 grit for painted miniatures. If not painting the miniature, you can proceed to 600, 800, 1000, 2000, 6000, 8000 to get the same finish as the original plastic).
Secondly – The Mould Line:
An unfortunate inevitability of the process of forming plastic models. Mould lines form from small misalignment / wear of the moulds used to form the plastic – especially in older moulds that have already been used to cast a lot of pieces. These lines need to be removed in order to give the finished piece a clean look as the lines are very difficult to mask with painting and tend to stand out.
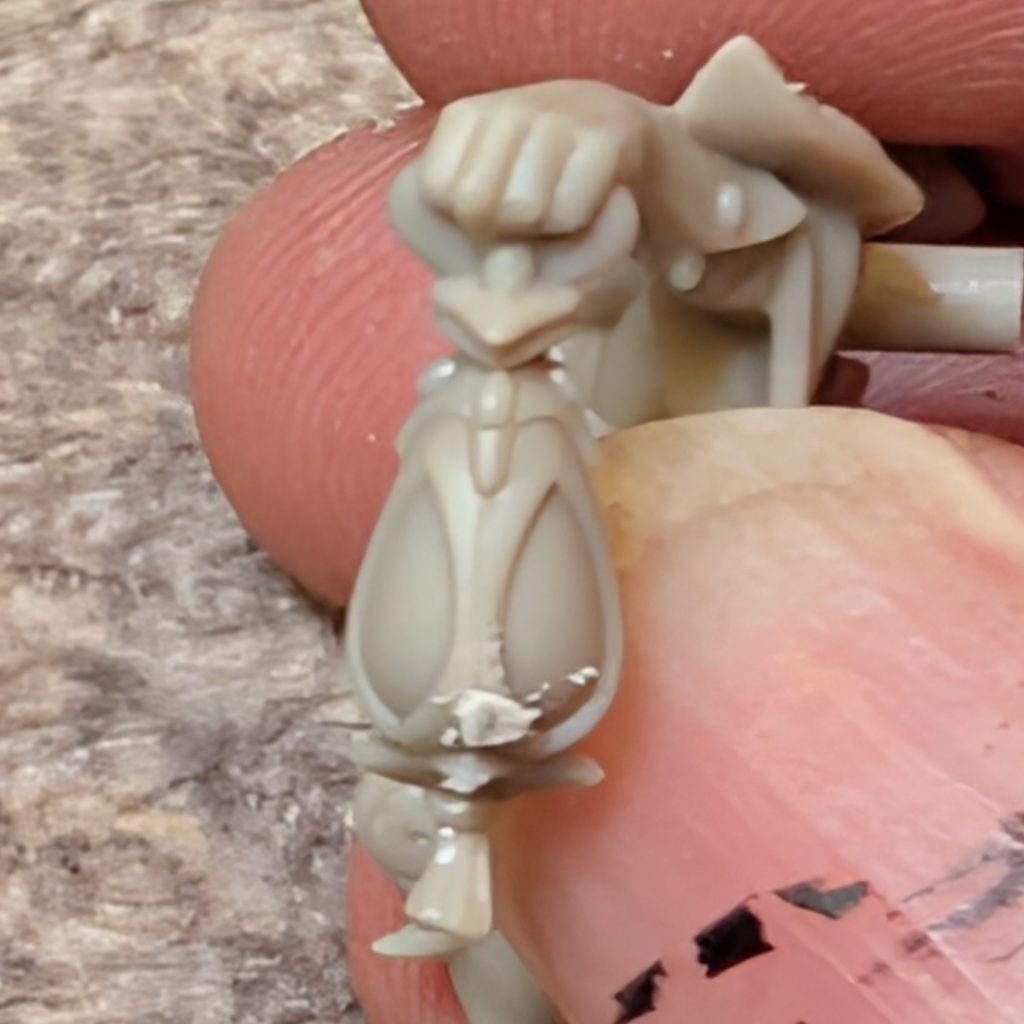
In simple cases the line can be removed with simple sanding – the same as with nub marks above:
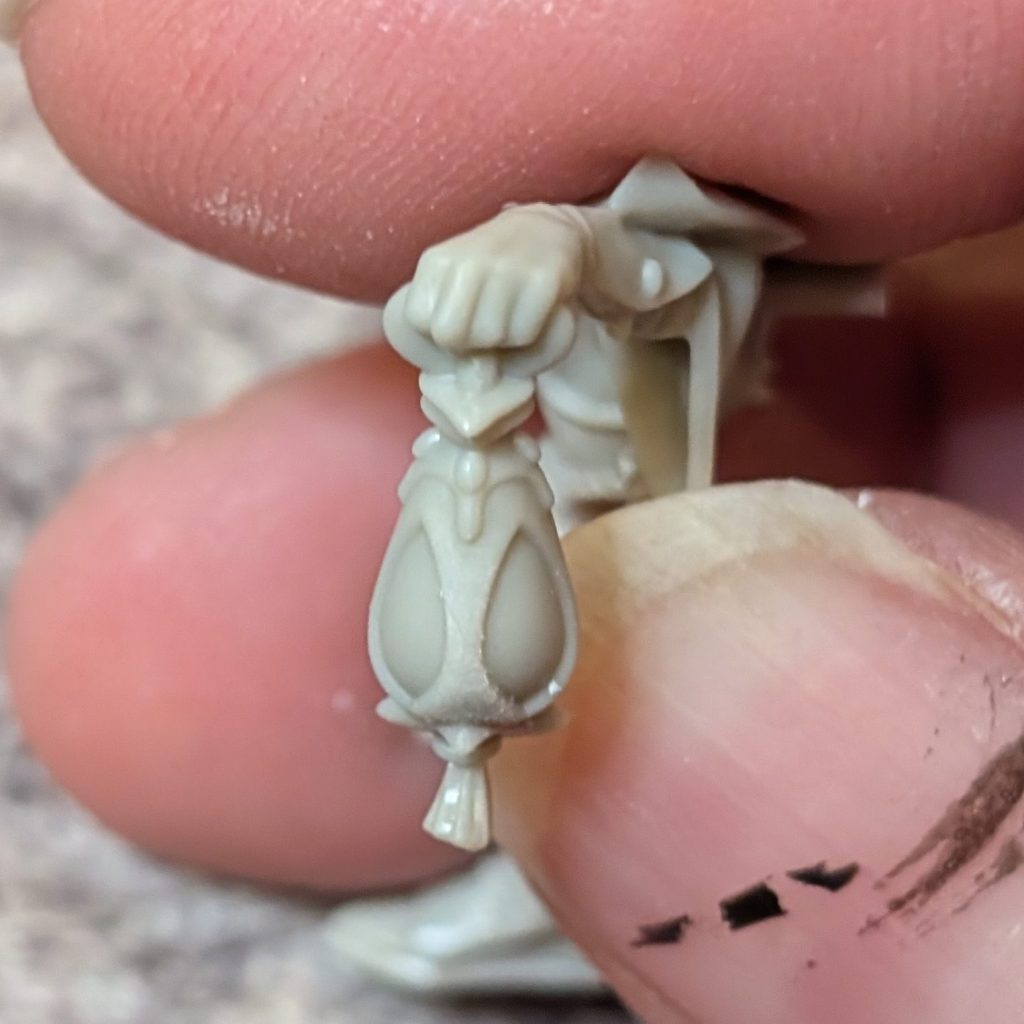
In some cases however, there are more detailed areas that have to be cleaned.
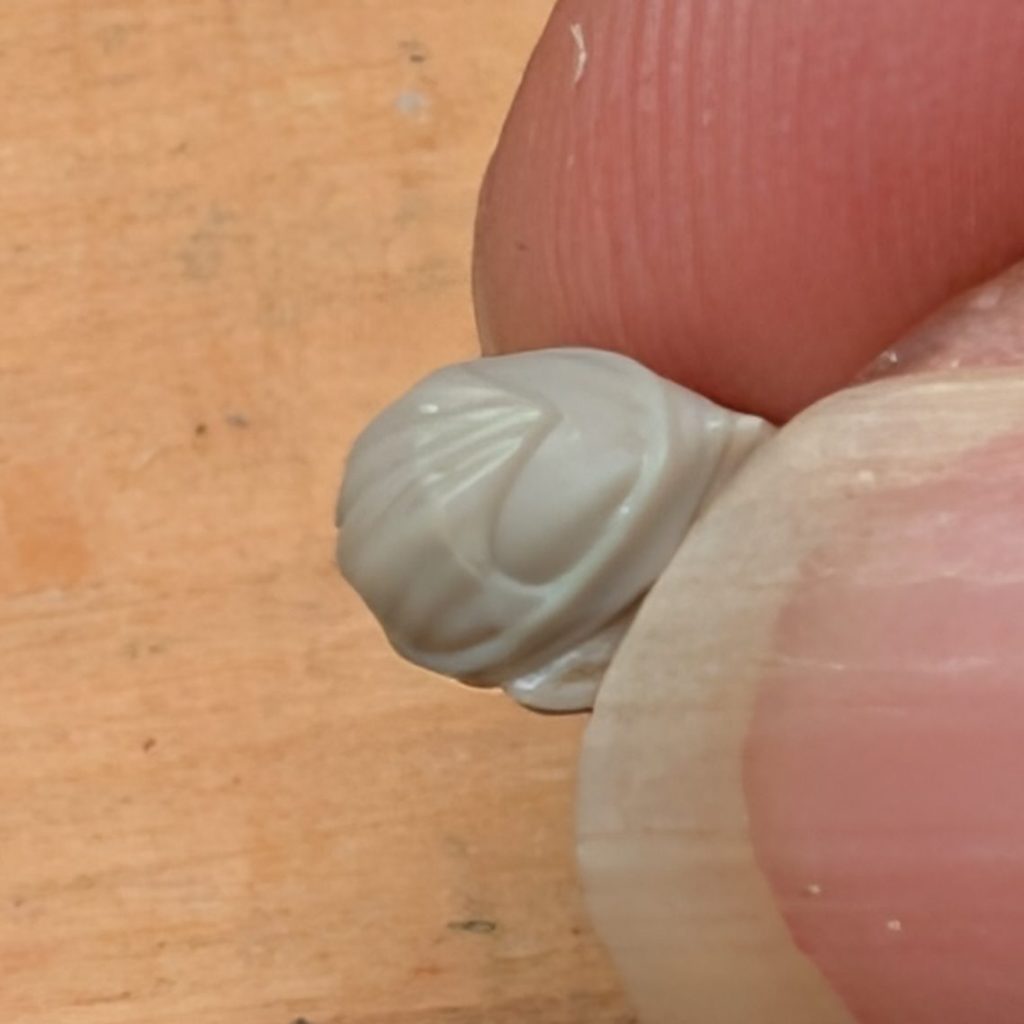
For these areas, a three step process is used. The first is the same as above – to sand down the raised areas.
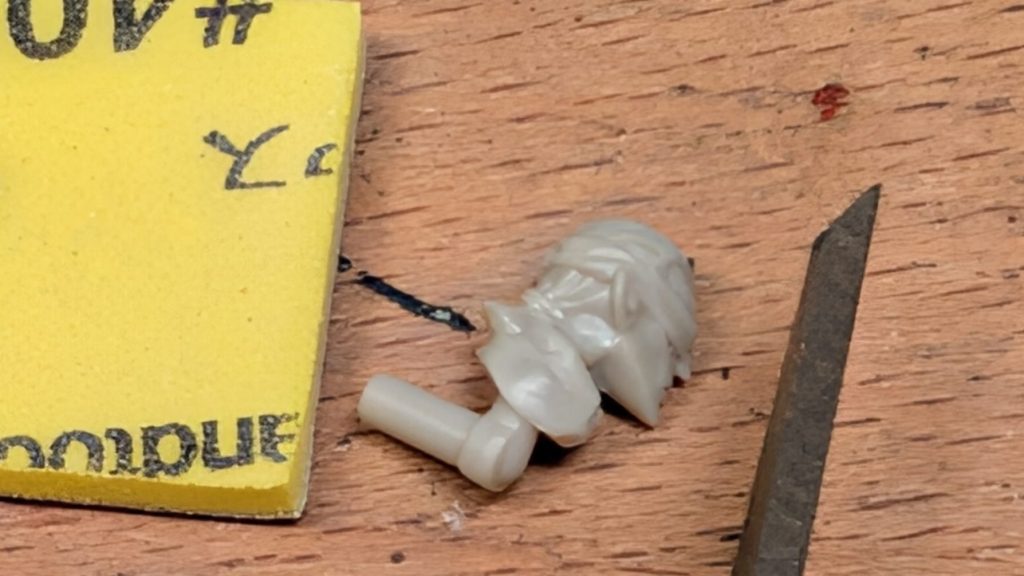
After this, the recesses also need to be cleaned. There are a couple of different tools that can be used (needle files or scribing tools) but either way, the process is the same – carefully scraping the recessed areas with the tool to smooth out the imperfection resulting from the casting.
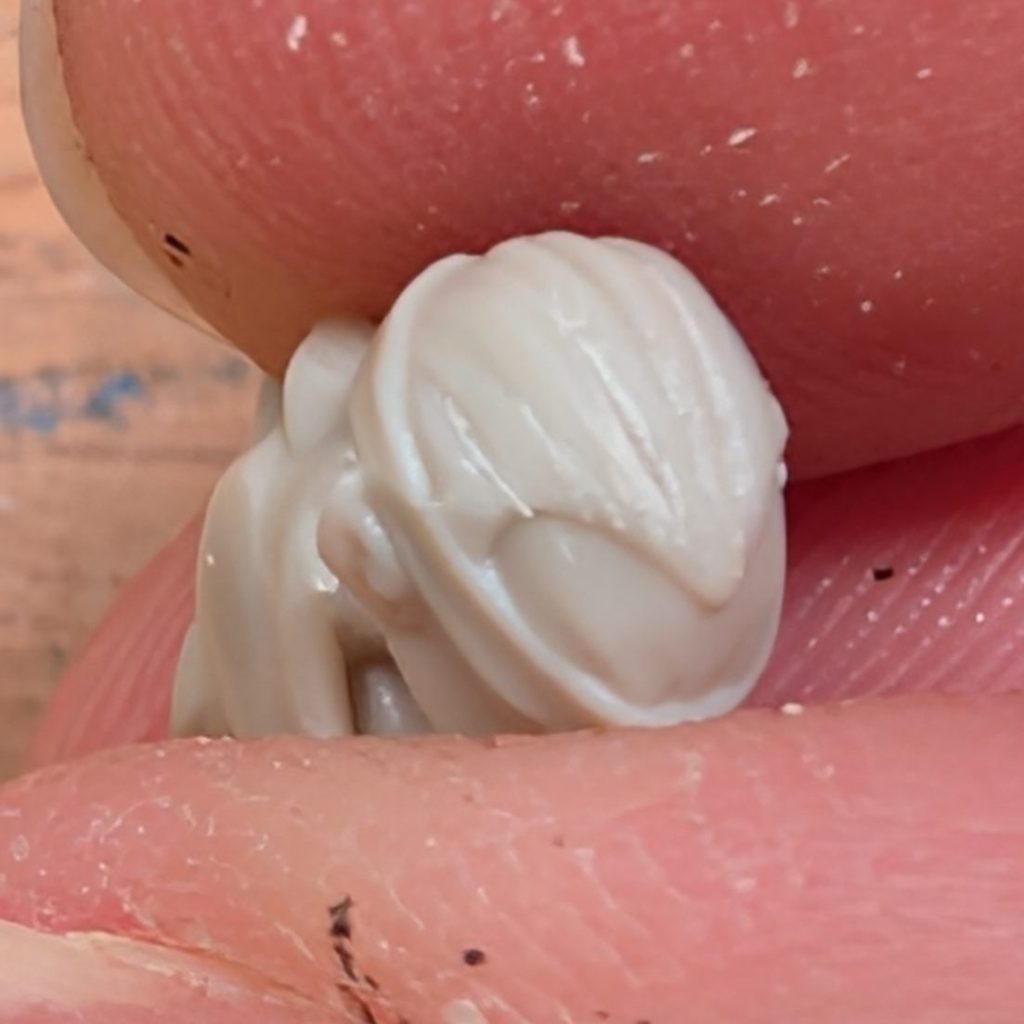
The final step, to remove any roughness from the surface of the model is a thin coat of plastic glue (Tamiya Extra thin or similar).
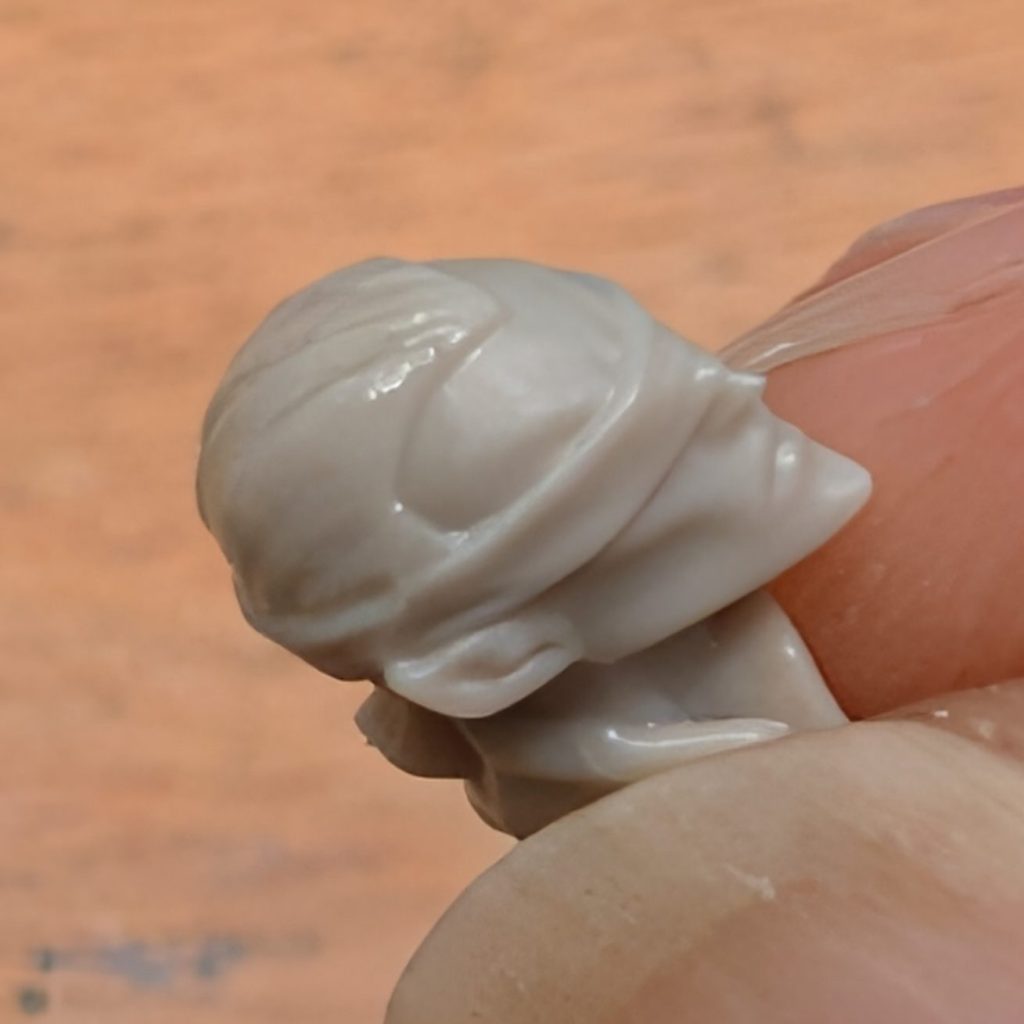
With the pieces cleaned, the last step is assembly. Although plastic glue will often work well for this purpose, I prefer to use ‘Sprue Goo’ (cut up pieces of plastic sprue dissolved into plastic glue to form a thick goop). The reason to use sprue goo is that, in addition to welding the pieces as regular plastic glue would, it is able to act as a gap filler to mask any imperfections in the joins between the parts:
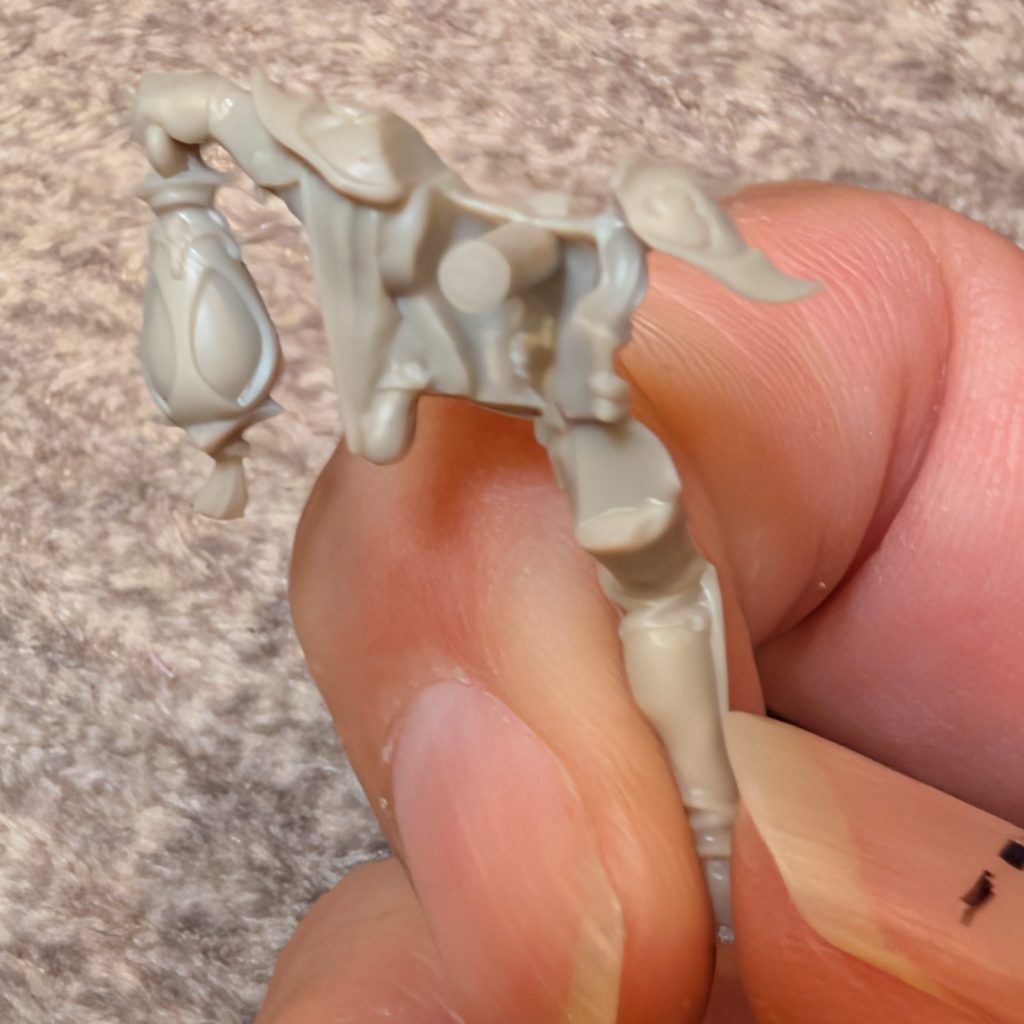
Carefully running some of the sprue goo around all the joining faces before gently pressing the parts together:
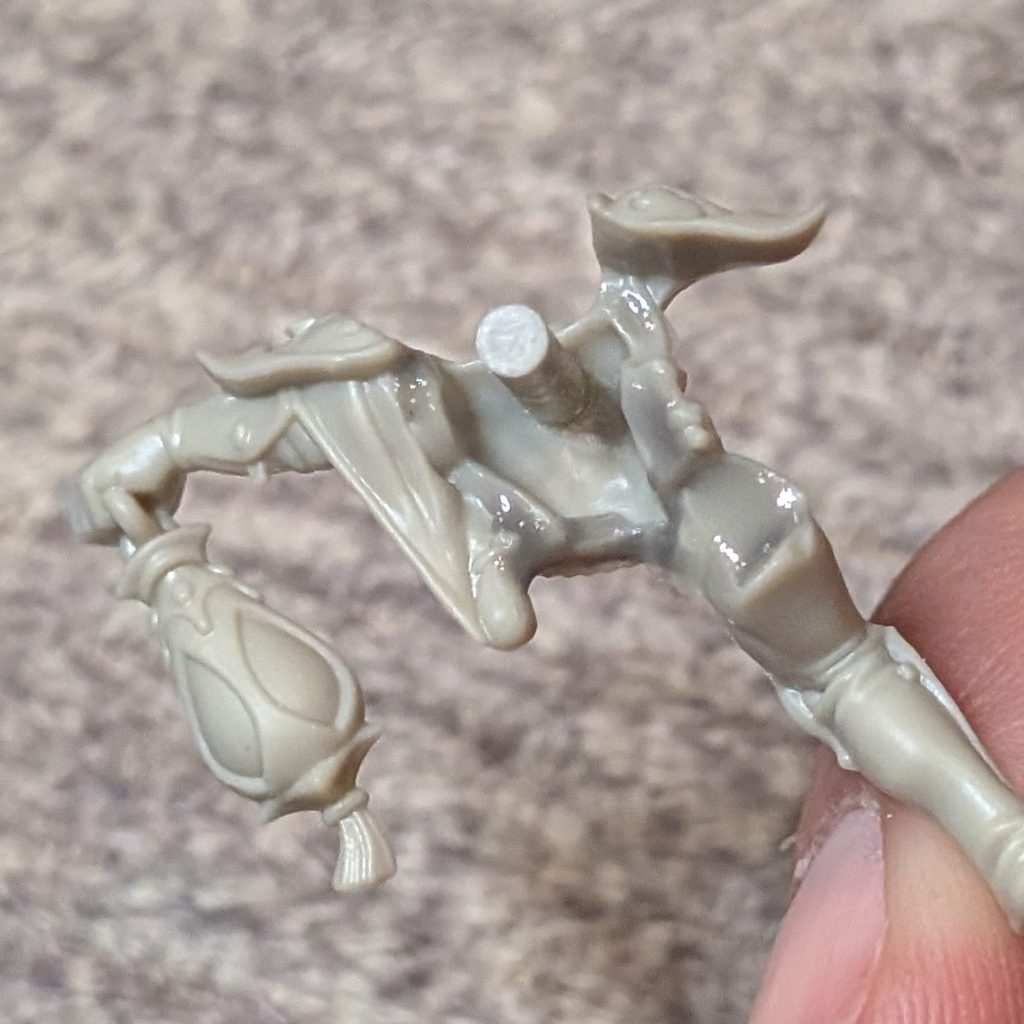
Be careful not to apply too much goo or it will squeeze out of the joins and marr the surface. (If this does occur – thin plastic glue can be used to wipe away any excess with minimal damage to the model’s surface).
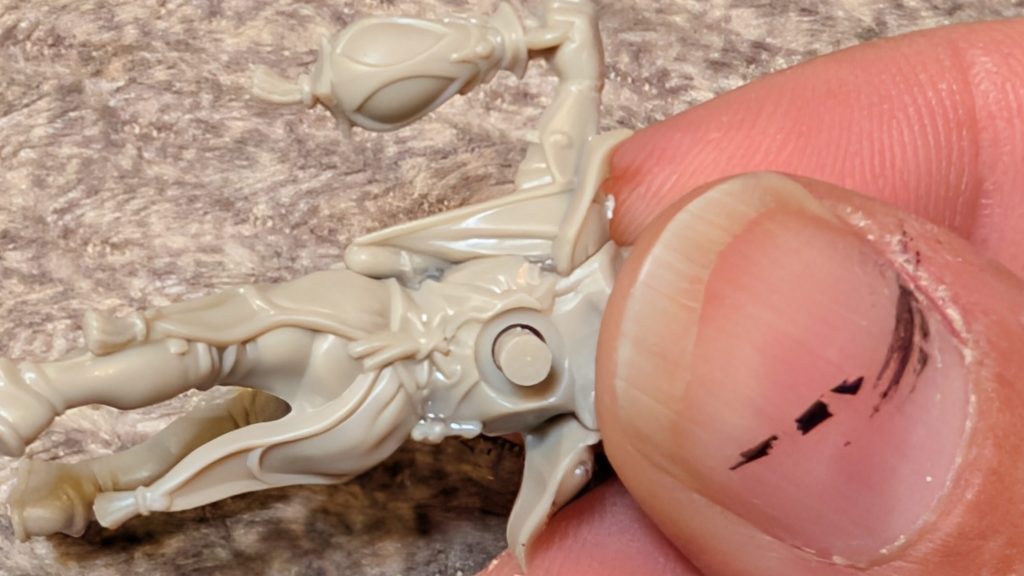
Those are the rough steps that I use to ensure I cleanly assemble models for painting for display / competition.
Raggy, signing out


Leave a Reply