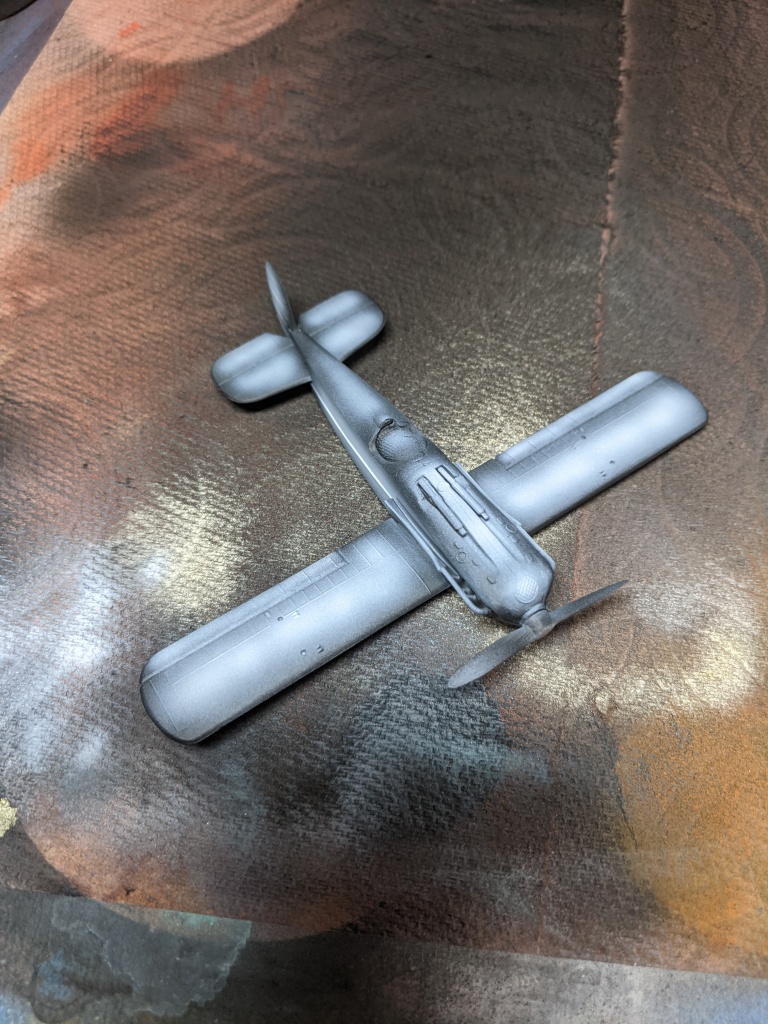
With the fuselage assembly completed, it was time to launch into the painting. I repeated the zenithal process I’d already performed on several of the individual parts.
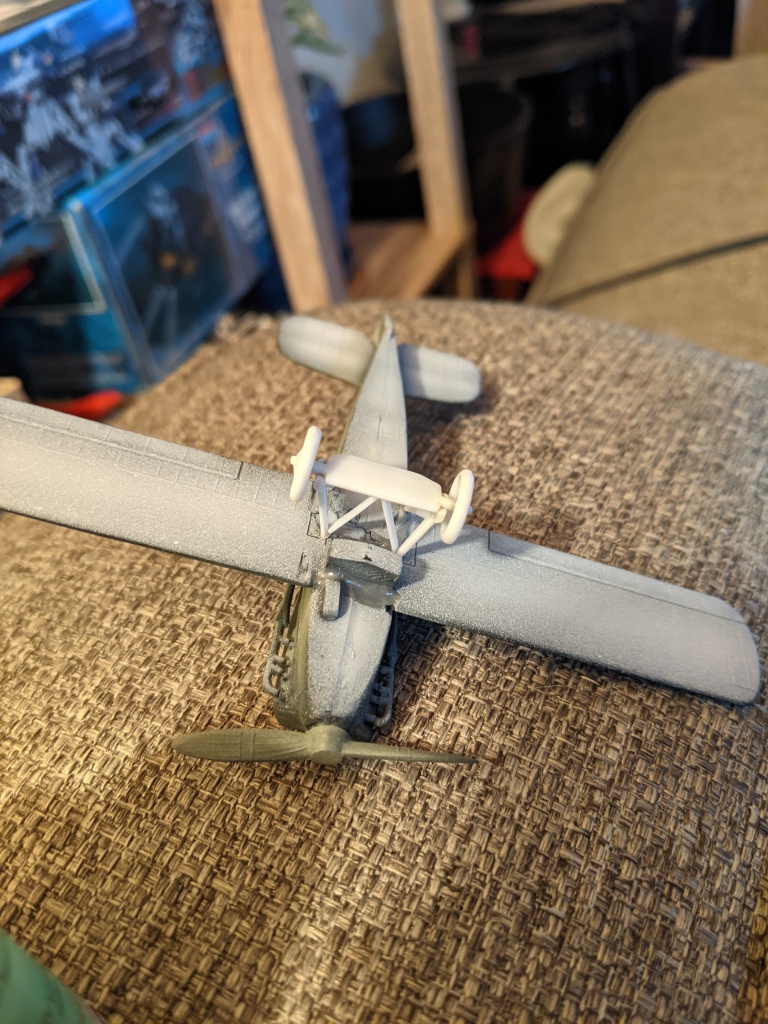
I mentioned in a previous post that there was mold slip causing several of the parts to be misshapen. I wasn’t sure how many of the struts to replace. Originally I had expected to put in replacements for all of them however in the end I opted to just replace the wing struts as the most visible elements that really faced this issue.

I couldn’t find any good references to get an accurate shape so I just stuck with cylinders. The assembly was fiddly and I think I needed to be more precise in measuring lengths to really keep everything square. Some careful clamping and the bracing joined pretty well.
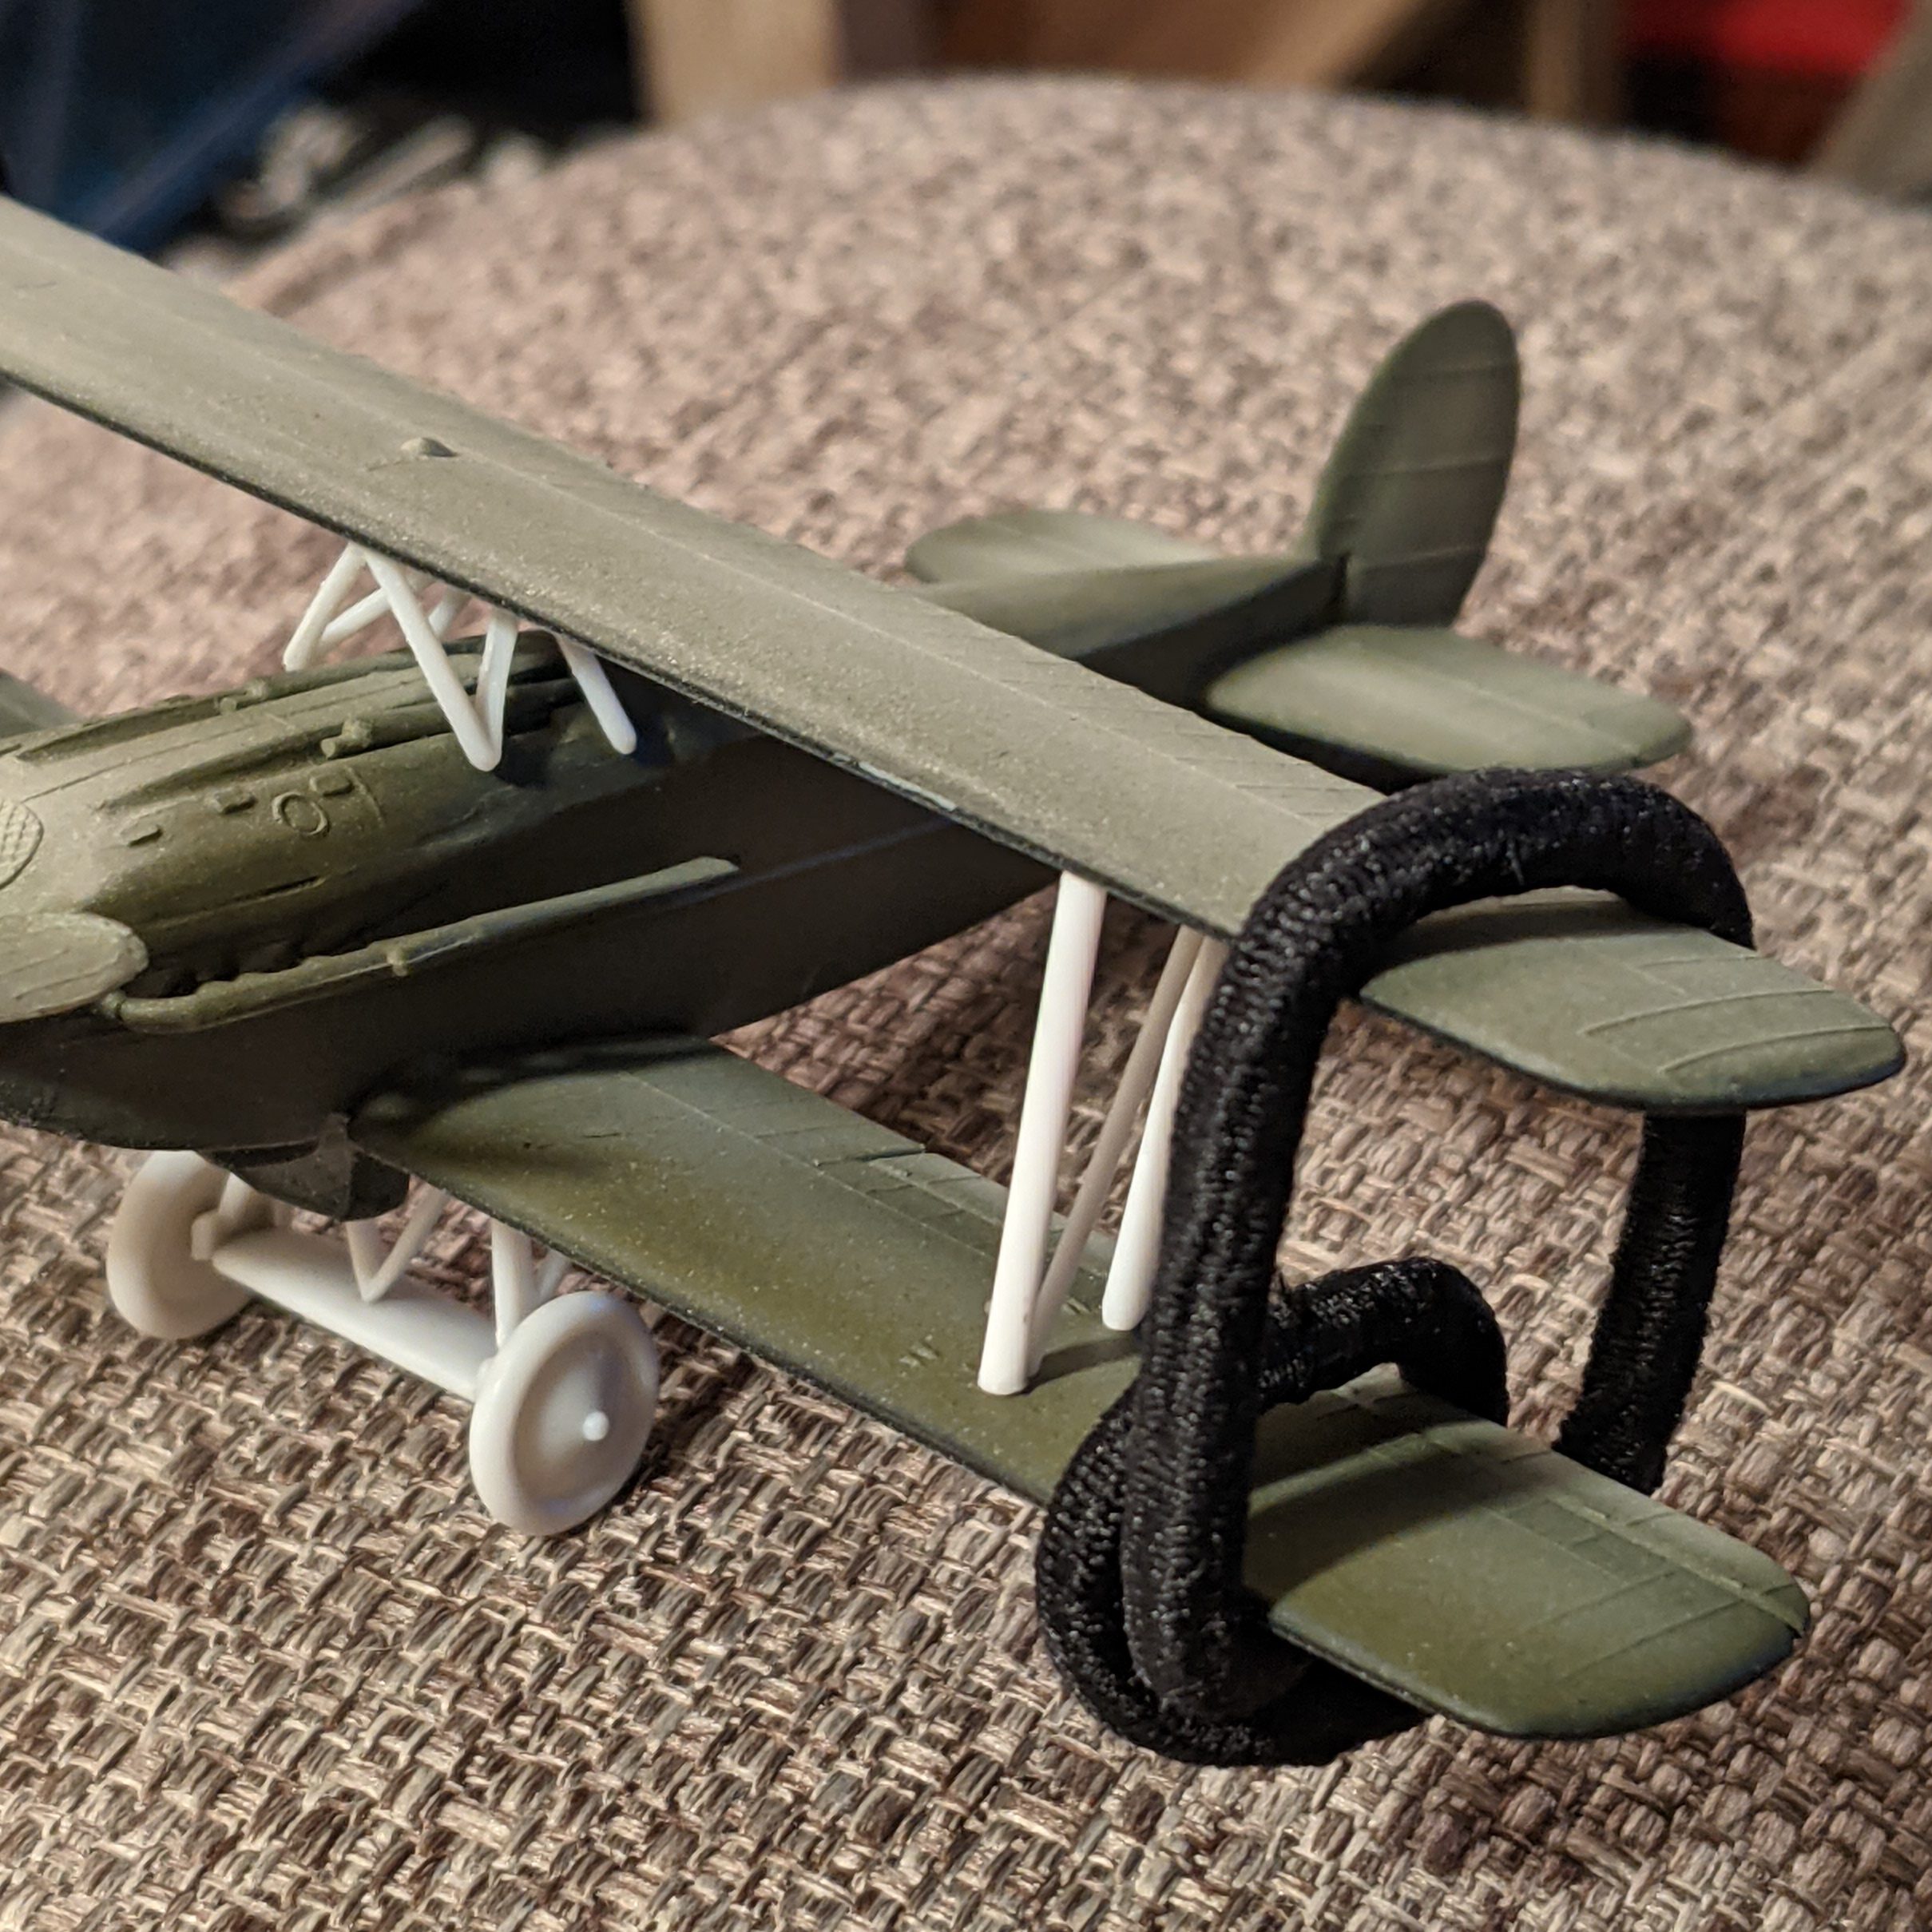
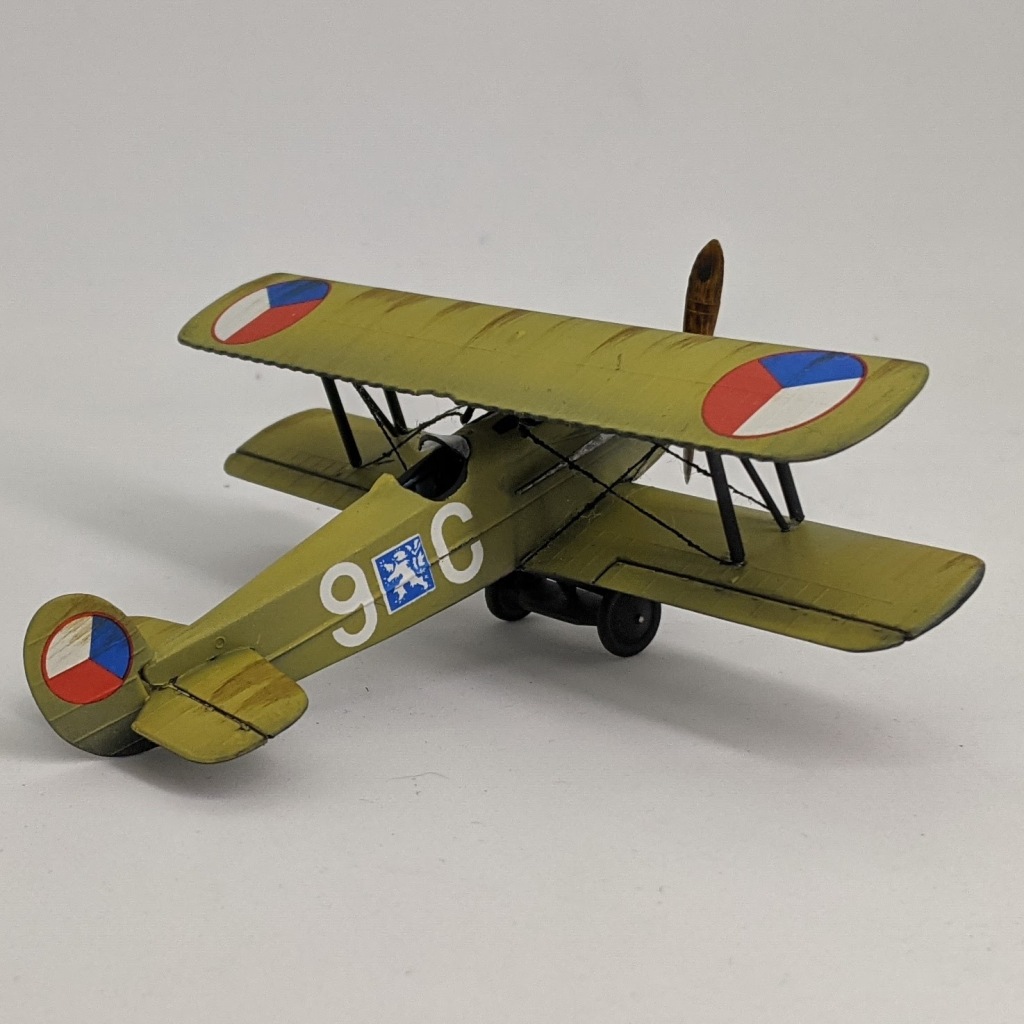
The painting was not really a key facet of this project for me and I took little care of colour identification or matching for the process. The instruction set included in the kit seemed a little confused about this in any case; provided in black and white they denote the G9 as having a tan colour with silver undercarriage however the side of the box indicates something akin to Olive Green rather than the khaki. I opted to play around with a few different khaki and tan shades to make a colour that amused me and stuck with that.

The decals were a fun challenge. I airbrushed Pledge Floor polish onto the model to get a really good gloss coat that I could lay the decals onto. I think throughout this process I was facing some issues with paint curing and the result is that things such as panel liner and decal softner applied later in the process tended to lift the paint a little. Decal application is nothing new to me although the application of decals to the underside of the wings (across the ailerons) taught me that it is best to cut a decal prior to application for a clean split. If I’d had spare decals I would have redone these ones after tearing them up trying to get them to lie across the gap.
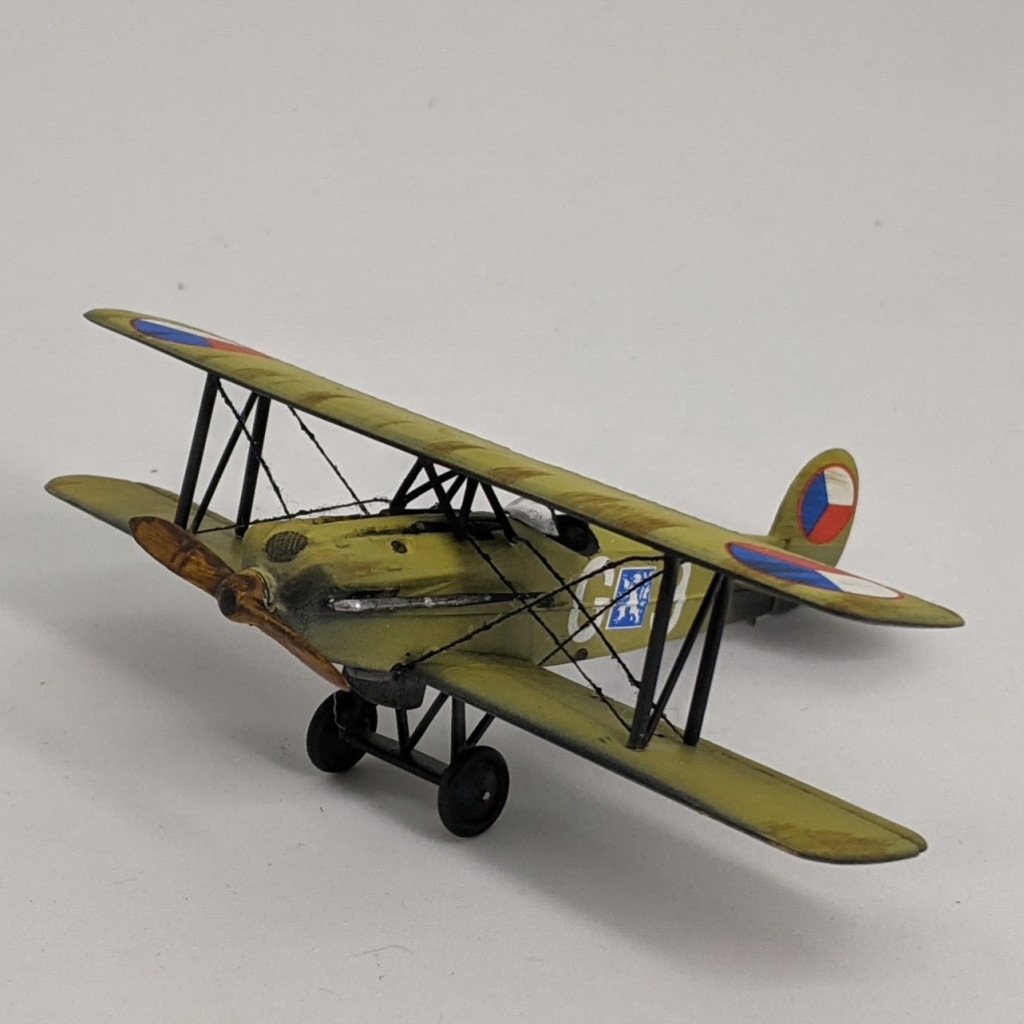
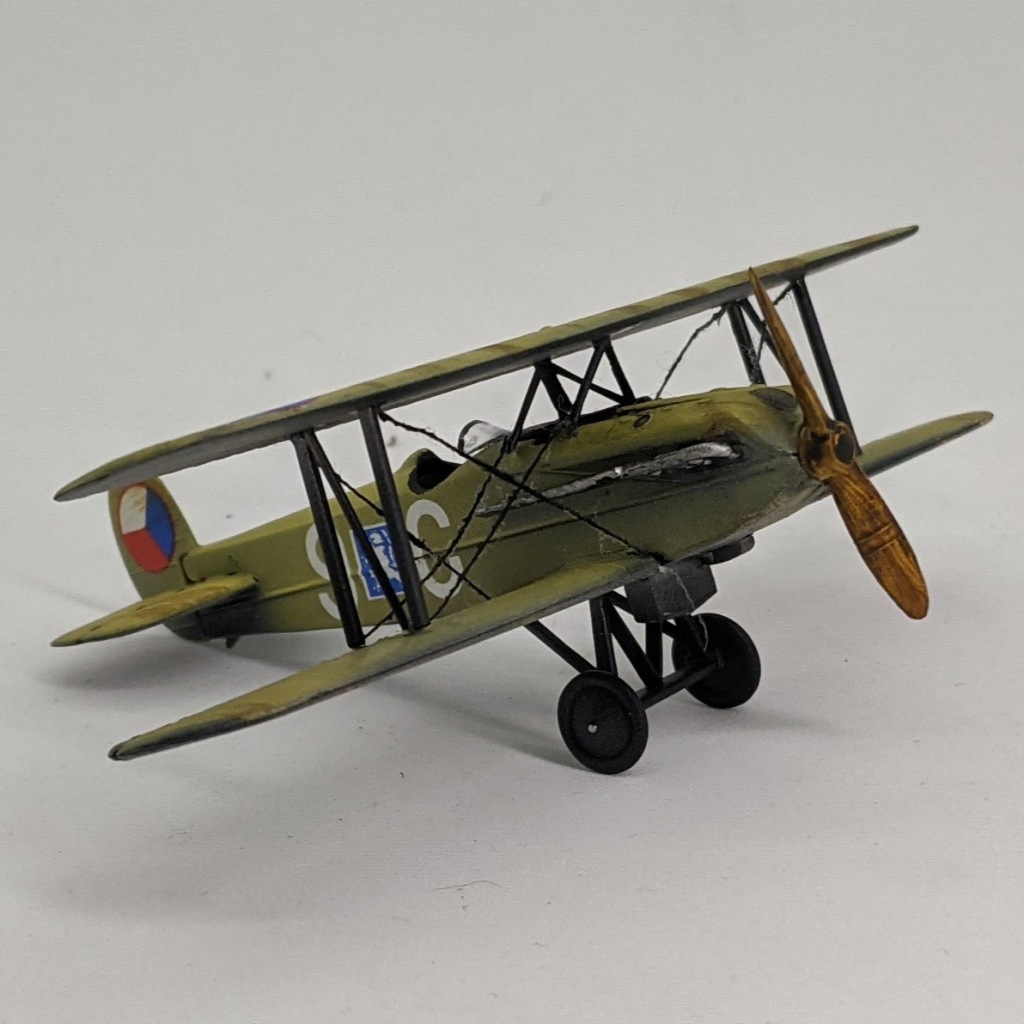
With the assembly and painting completed, the last step was to attach the rigging. This was another first for me. I decided to just go ahead and use something I already had. Initially I’d intended to use some jewellers wire that I had but then opted to use some thread I had instead. In all honesty, the wire would have been a better match I suspect but the thread was a little easier to work with without more aggressive drilling to give good contact for adhesive.


Leave a comment