Having done initial assembly, it is time to lay down the first pass with paint.
For simplicity I used Stynylrez Black primer and implemented some initial highlights with Vallejo White ink (my preferred white for airbrushing).
I also used a little Mission Models Emerald Green mixed with a little of the white ink for the inside of the cockpit. This was done over the initial zenithal effect so the transition is emphasised.

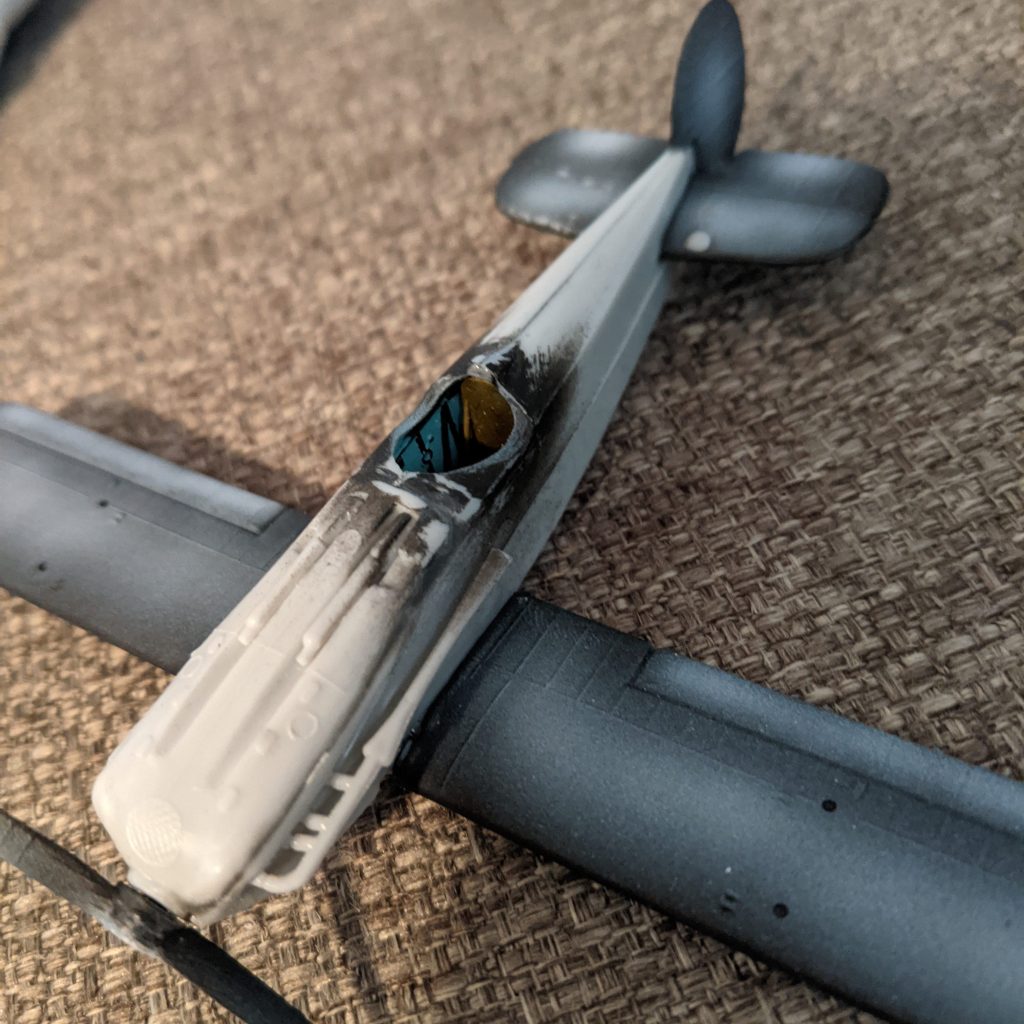
I also painted up the cockpit insert with some simple colours. As mentioned in the previous post – although I enjoy painting to a high standard – this particular project is an exercise in finessing assembly so all of the paint work is somewhat rough and ready.

For the interior I also kept things a little rough and ready with some simple black and a slightly worn leather effect for the seat.

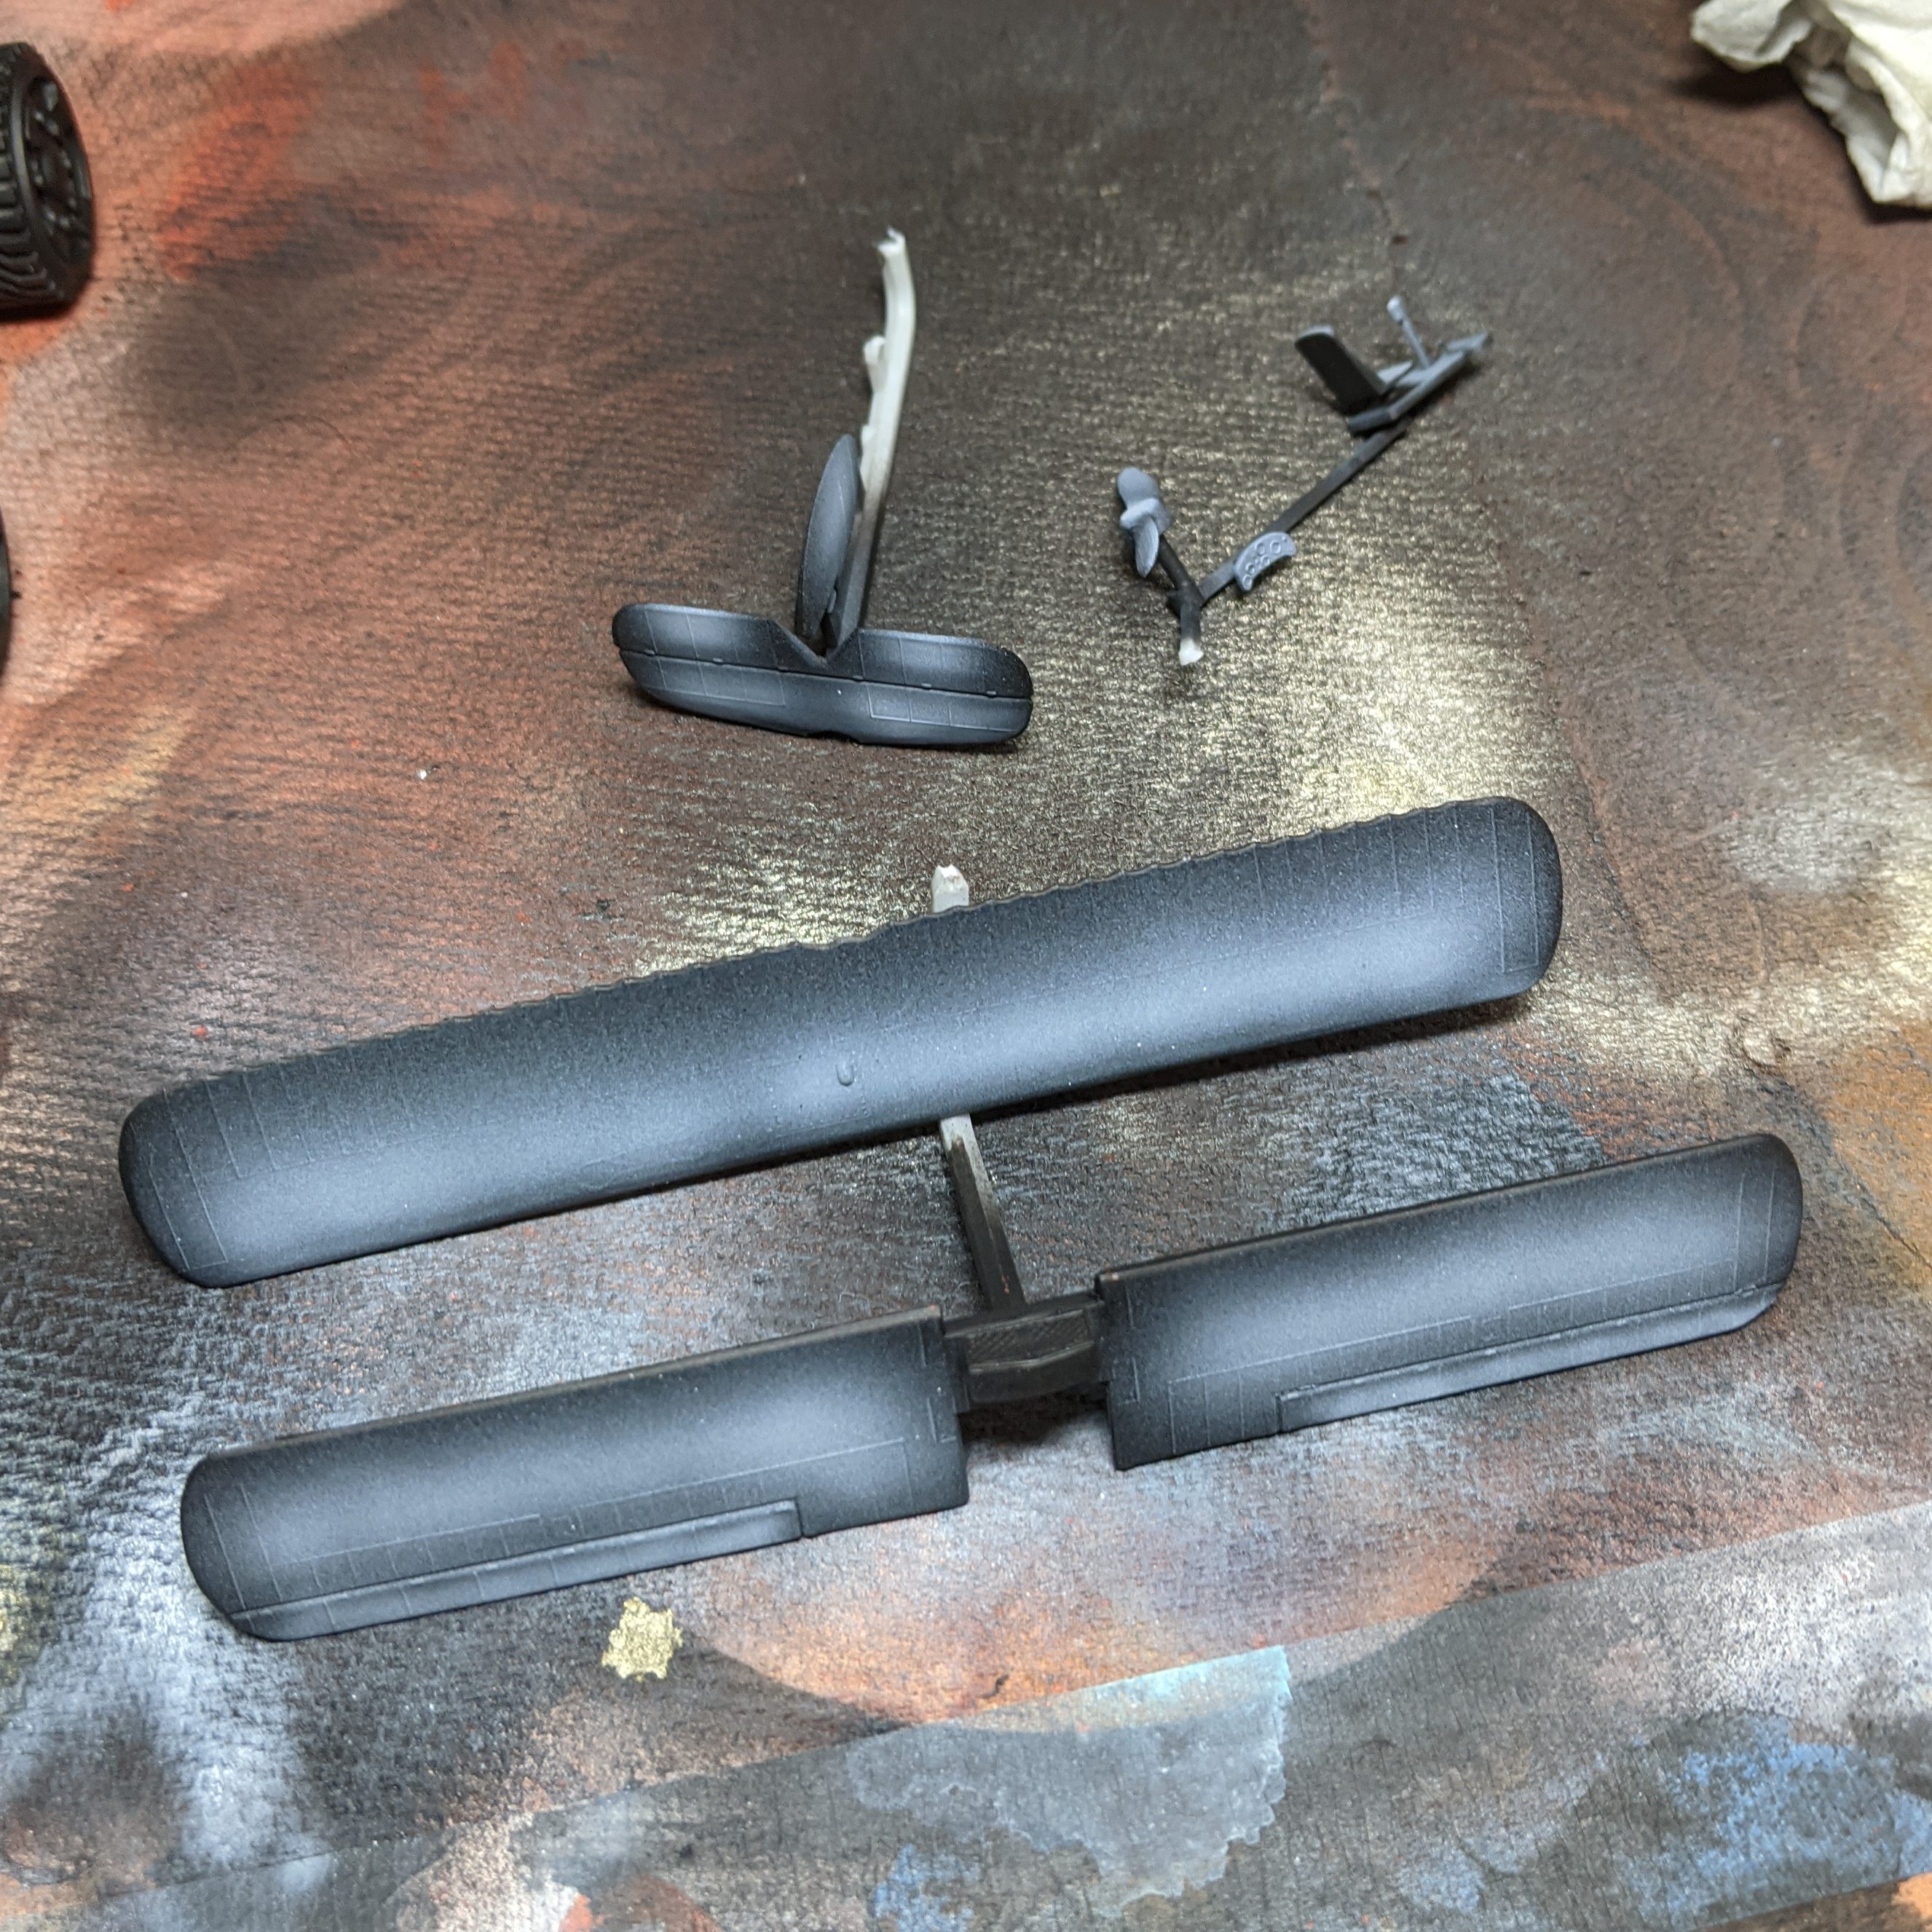
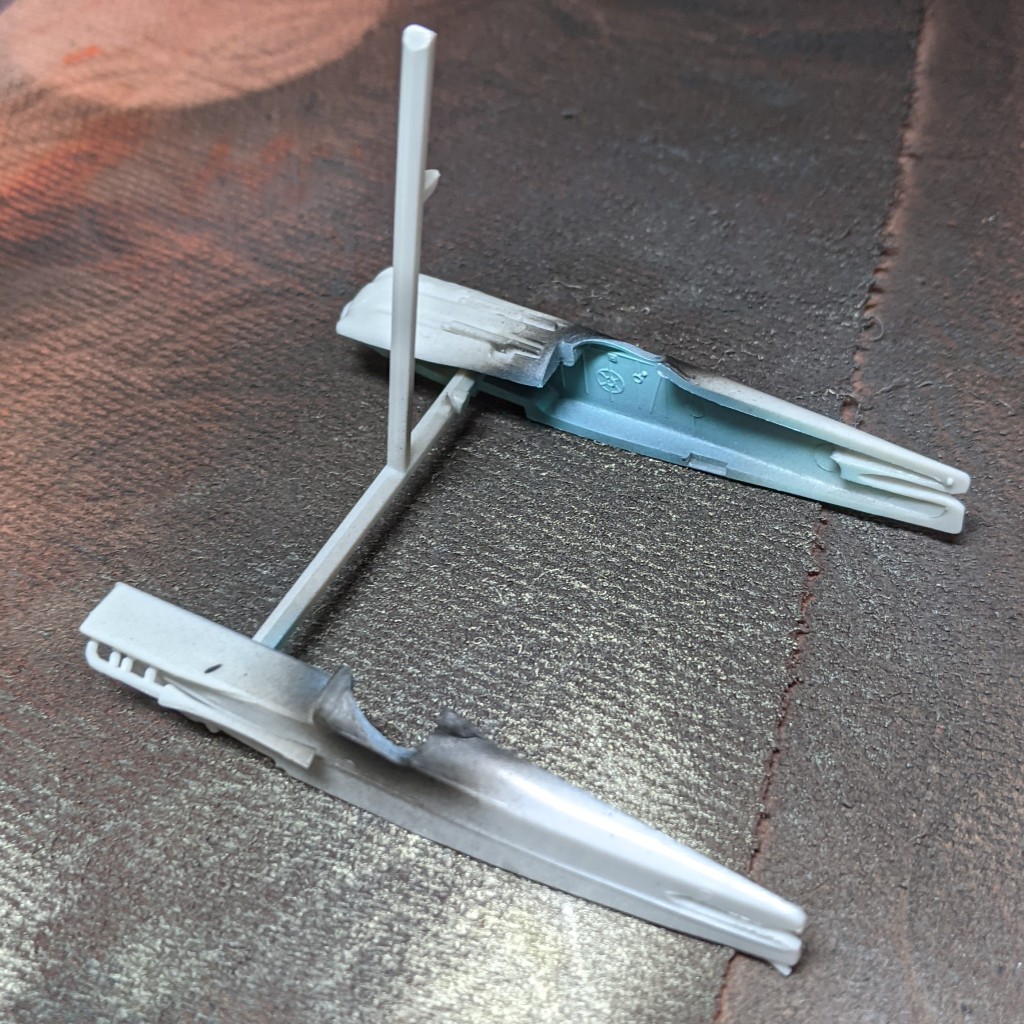
Having painted up the interior, it was time to get the fuselage assembled. This was the real focus of this project. I wanted to really work on making seamless joins as much as possible. the parts were (mostly) simple, smooth convex curves that made for relatively simple glue/fill/file however there was a little additional detail, particularly on the underside that I had to work around.

Leave a comment